
Today, we’re breaking down the process of creating a track inspired by the sound of Disclosure (Howard and Guy Lawrence). Especially their older sound, so you know we’re going for that vibrant house vibe.
Based on our latest YouTube video this tutorial is based on Ableton Live (but you can use any DAW like FL Studio, Logic Pro, Bitwig, etc).
Let’s take a look at what it takes to bring this track to life.
You Will Learn
- How to set up a drum rack using samples from Sample Focus.
- Techniques for crafting engaging intro loops.
- Designing rich chords with TAL-U-No 62.
- Adding a driving bassline to your track.
- Tips for arranging your song and incorporating vocals.
What does this mean?
Basically taking a palette of simple sounds stacked together to create a complex song – using stock presets, free plugins/vst and samples from Sample Focus. This highlights the importance of groove, choosing the right drum samples, and unique synth sounds and progressions.
Step 1: Setting Up Your Drum Rack
First things first, head over to Sample Focus to grab some solid house samples. For this project, I created a drum rack using Ableton Live’s Drum Sampler. If you’re not familiar with this device, don’t worry—it’s pretty straightforward. I started with some basic elements: claps, hi-hats, and a couple of percussive sounds.
Now, here’s a cool tip: I used Ableton’s groove feature to add some swing to my patterns. It’s super easy! Just select a groove from the groove pool and apply it to your clips. This gives your drums that extra bounce and makes them feel alive.
Step 2: Your Intro Loop
Next up is the intro loop. I started with a four-bar loop and used a kick from Sample Focus to lay down a solid foundation. Initially, I had a kick that I later replaced, but it was useful for hearing how everything fit together. I layered my claps, making sure one was quantized for consistency while another hit slightly before to create a nice “clack” effect.
To keep things interesting, I duplicated my loop and made small tweaks—like adding extra hi-hats or percussion. These subtle changes can make a short loop feel longer and more engaging, which is key in house music.
Step 3: Chords with TAL-U-No 62
Now, let’s talk about the chords. I used the TAL-U-No 62 plugin, which is a great free emulation of the Juno 60. I started with a basic preset and tweaked it a bit by adjusting the attack and decay settings in the envelope section. Increasing the resonance on the filter added some nice warmth to the sound.
For the chord progression, I went with a major 7 chord and added a lower octave to give it depth. I recorded my pattern using a MIDI keyboard, and I made sure to play around with note velocities to add character and dynamics.
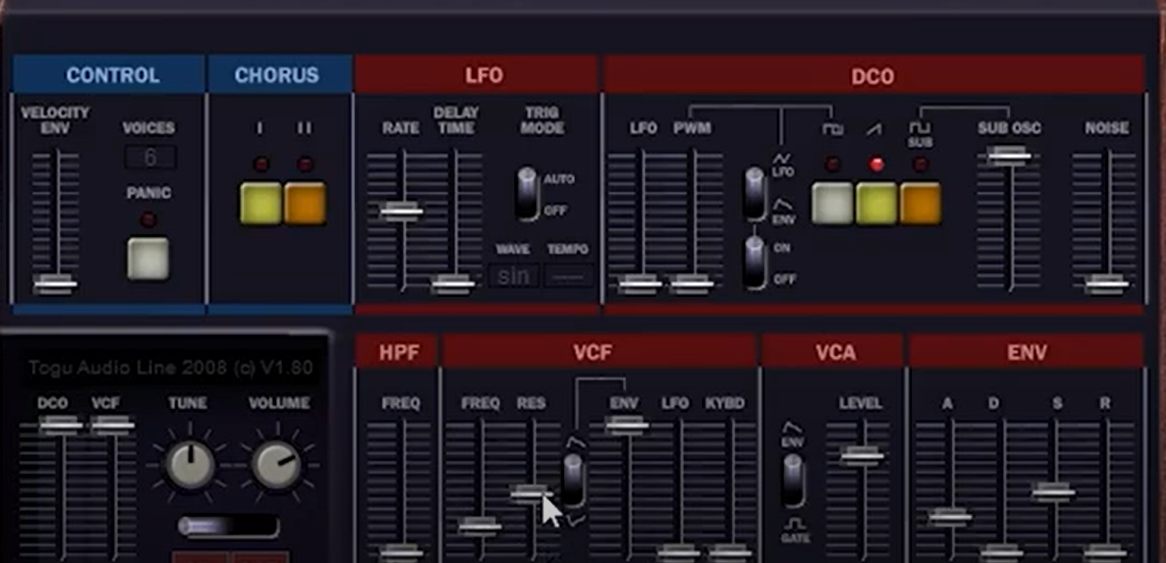
Step 4: Adding Bass
For the bass, I pulled out TAL NoiseMaker. I tweaked the settings a bit and copied my chord progression while lowering it by an octave. This bass pattern drives the track forward—keeping it repetitive but engaging without getting annoying.
Step 5: Finalizing Your Drum Sounds
At this point, I decided to swap out my initial kick for a mixed house kick from Sample Focus. This sample is already processed and fits perfectly into the mix. I grouped the kick with the rest of my drum sounds and applied a drum bus to glue everything together.
Step 6: Arranging Your Track
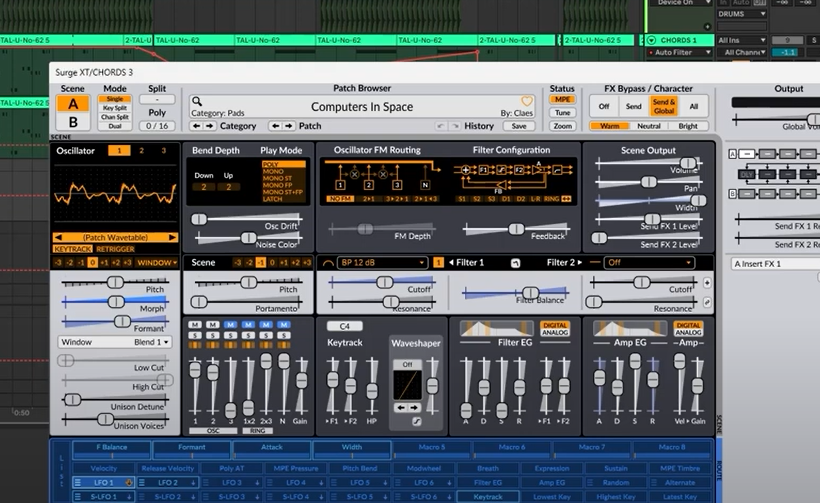
Now it’s time to arrange your song. I started with an intro and then created a bridge to transition between sections. For the bridge, I used a pad sound from another free plugin called Surge, layering it with a dreamy flute melody. This adds a nice atmospheric touch to the breakdown.
Step 7: Add Vocals & Effects
To spice things up, I added a vocal loop from Sample Focus. I processed this vocal with effects like hybrid reverb and EQ to ensure it sits well in the mix. The goal is to enhance the vocal without overpowering the other elements.
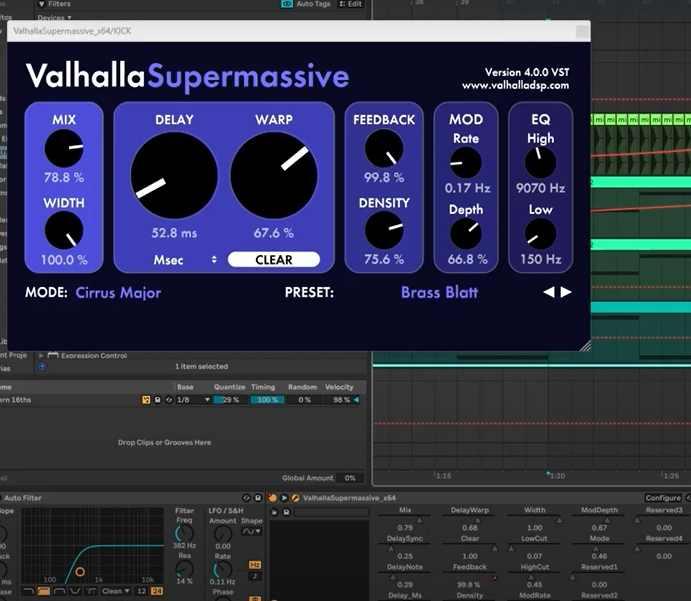
Finally, I added some automation to the hi-hats and other elements to create movement throughout the track. Using effects like reverb and delay helps the sounds blend together seamlessly.
Recap
- Start with a solid drum rack and apply groove for swing.
- Use TAL-U-No 62 for warm, rich chord sounds.
- Layer basslines under your chord progression.
- Replace initial sounds with processed samples from Sample Focus.
- Enhance your track with vocal loops and automation for movement.
Final Words
After layering and arranging all these elements, you'll have a house track that with the Disclosure essence. Remember, small adjustments can make a big difference in your track. Add smooth transitions, unique details, and a good mix – and that's it.
Remember to check out Sample Focus for high-quality samples. You get three free credits each week, and you can earn more by uploading your own samples.


Comments