

Let me share some ways to help your music production based on some recent personal experiences. I've explored some hidden (and vintage) synth gems, brushed up on speedy synthesis tips, and made custom drum sounds. This will give your tracks a unique feel and while keeping professional levle sound design.
Sound like something you need? Let's get started.
Hidden Gems: Underrated VST Synths
First off, let’s look at some often overlooked VST synths that can make your sound different.
Surge XT
This free synth comes with 2800 patches and versatile oscillators. I love using its FM synthesis algorithms for creating lush pads. Try combining the "Classic" oscillator with the "Wavetable" oscillator.

- Set the first oscillator to a sine wave at 200 Hz and the second to a complex wavetable at 400 Hz.
- Add a low-pass filter with a cutoff around 500 Hz and a moderate resonance to smooth out the sound.

Sonic Charge Synplant 2
This one’s unique to create digital sounds. It transforms audio you import into new variations. I used it to create a background texture for an ambient track by importing a field recording.
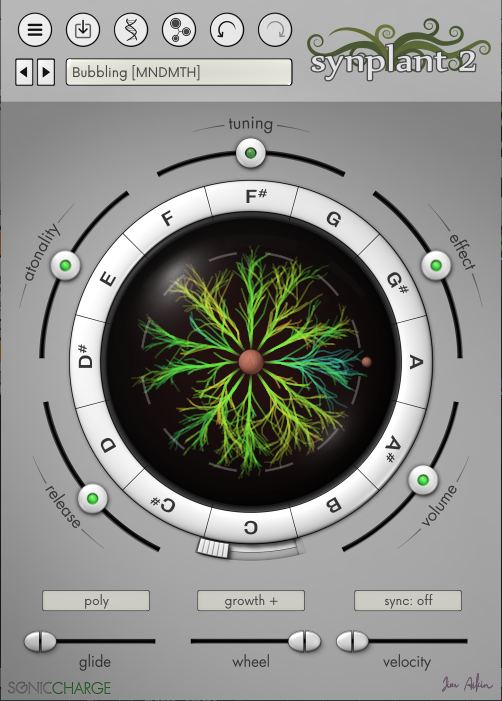
- I layered them and panned for a rich stereo effect.
- Set the modulation depth to 60% for subtle changes.
- Use a gentle LFO to modulate pitch slightly, creating a natural wobble.

Dawesome Kult
Known for its "Strange Attractor" oscillators, Kult is all about real-time modulation. I created an evolving bassline by using its AM synthesis feature.

Start with the "Strange Attractor" oscillator
- Set the modulator oscillator to 100 Hz, and the carrier to 200 Hz.
- Modulate the amplitude with a slow LFO (around 0.1 Hz) to create movement.
- Use a band-pass filter with a cutoff around 150 Hz and high resonance to highlight the movement.
UVI Falcon 3
This synth has great multitimbral capabilities and modulation options. I used it to design a lead sound by combining three different synthesis methods: wavetable, granular, and FM.
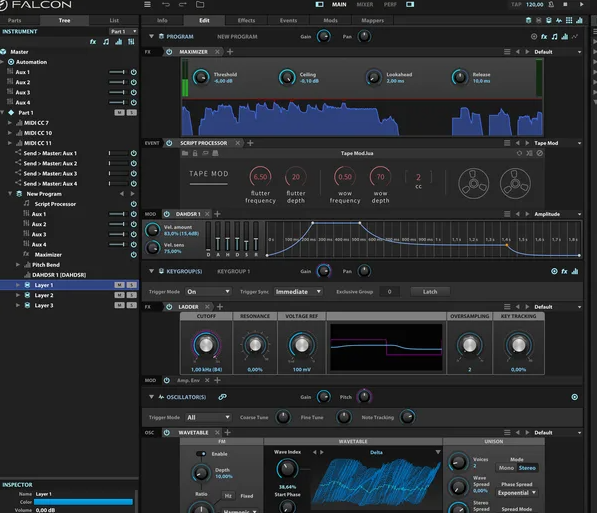
- Set the wavetable oscillator to a bright, harmonic-rich waveform, the granular to a vocal sample, and the FM to a simple sine wave.
- Use the modulation matrix to cross-modulate these oscillators with an LFO and an envelope for dynamic changes.
- Adjust the attack and release times to shape the sound further.
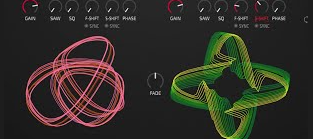
FabFilter Twin 3
An intuitive interface and advanced modulation system lets you dive deep into sound design. I crafted a punchy pluck sound by setting one oscillator to a sawtooth wave and another to a square wave.
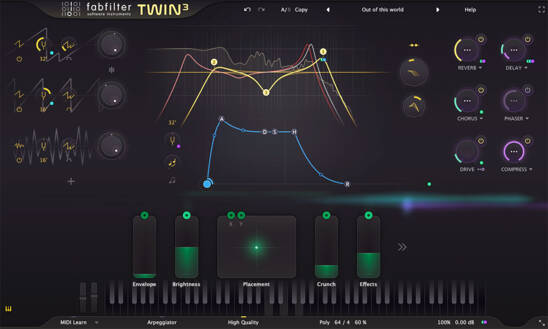
- Add a low-pass filter with a fast envelope (attack: 10ms, decay: 150ms, sustain: 0, release: 50ms) to create the pluck effect.
- Use the drag-and-drop modulation to assign an LFO to the filter cutoff for a subtle, rhythmic modulation with FabFilter Twin 3.
Speedy Synthesis Tips
Here are some tips to keep your workflow efficient and creative:
Layer Your Sounds
Combining different synth patches can create rich, textured sounds.
- Mix a wavetable oscillator with an analog one to add depth.
- Try layering a sine wave at 200 Hz with a wavetable at 400 Hz
- Blend them using a mixer with the sine wave slightly louder for a solid foundation.
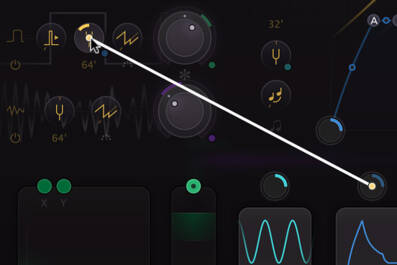
Master Modulation
Use LFOs, envelopes, and more to add movement to your sounds. FabFilter Twin 3’s drag-and-drop modulation systems make this easy. Assign an LFO to modulate the pitch of your oscillator subtly (depth: 5%) and sync it to your project’s tempo for rhythmic modulation.
Use Noise Creatively
Noise can be more than just static. Filter white noise, to create unique hi-hats and snares that stand out.
- Start with white noise, add a high-pass filter with a cutoff around 8000 Hz
- Adjust the envelope for a sharp attack and short decay (attack: 5ms, decay: 50ms, sustain: 0, release: 25ms).
Custom Drums with Noise
Ever thought of testing unique drum sounds using noise?
White Noise for Snares and Hi-Hats
Start with a noise generator, then shape it using filters and envelopes. This can give your drums a distinctive edge. For snares, use a band-pass filter with a cutoff around 500 Hz and high resonance. Adjust the envelope for a snappy attack (attack: 2ms, decay: 120ms, sustain: 0, release: 80ms).
Layer for Complexity
Combine different types of noise and tonal elements to build rich, complex drum sounds. Balancing these layers carefully will help each element shine. Layer white noise with a low-frequency sine wave for a punchy kick, setting the sine wave to 60 Hz.
Noise Types
Synths like Surge XT offer noise algorithms.
Experiment with them to find the perfect texture for your drum sounds. Try using "Twist" noise for a metallic hi-hat sound, and adjust the filter cutoff to around 10,000 Hz with a slight resonance to add brightness.
Making Presets Your Own
Presets are a great starting point, but making them your own ensures you sound different.
- Adjust Parameters
- Tweaking filter settings, envelope shapes, or oscillator waveforms can drastically change a preset.
- Take a preset lead sound and adjust the filter cutoff to open more, increasing the resonance slightly to add brightness.
- Add Effects:
- Customize presets further by adjusting reverb, delay, and other effects.
- This can transform a standard sound into something special. Add a reverb with a short decay time (around 1.2 seconds)
- A slight pre-delay (around 20ms) to create space without overwhelming the sound.
- Modulation Tweaks
- Play around with the modulation matrix to introduce subtle or dramatic changes.
- FabFilter Twin 3’s intuitive system makes this easy and fun.
- Assign an envelope to the pitch of one oscillator for a subtle pitch bend at the start of the note, giving it more character (depth: 2%, attack: 10ms, decay: 100ms, sustain: 0).
Recap
- Explore Hidden Gems: Discover underrated and vintage VST synths like Surge XT, Synplant, Kult, Falcon 3, and FabFilter Twin 3 to create unique sounds.
- Master Speedy Synthesis Tips: Layer sounds, utilize advanced modulation, and employ noise creatively to streamline your workflow.
- Craft Custom Drums with Noise: Shape white noise using filters and envelopes to design distinctive snares, hi-hats, and kicks.
- Make Presets Your Own: Tweak parameters, add effects, and experiment with modulation to transform generic presets into personalized sounds.
Final Words
Exploring underrated VST synths helps you create new audio frequencies and makes you sound different.
Streamline your workflow by layering elements, utilizing advanced modulation, and sculpting noise creatively. Remember to tweark your percussion with custom drums using shaped white noise. Then transform generic presets into personalized signatures through parameter tweaks, effects, and modulation experiments.


Comments