
When you’re starting out, the software you use can make a big difference in your learning curve and overall experience. One of the big names in the industry is Pro Tools. Known for its professional-grade output, you can find Pro Tools in studios around the world.
But the question is: Is Pro Tools easy for beginners?
Let’s break it down.
Understanding Pro Tools
Pro Tools, developed by Avid Technology, is an industry standard for audio recording and editing software. It’s used widely in music production, film scoring, and other audio-related fields. Its reputation is built on its high-quality processing capabilities, robust editing features, and seamless integration with a wide range of hardware.
The Learning Curve
Complexity and Capability
Pro Tools offers a complex array of features which, while powerful, can overwhelm beginners.
For more straightforward, entry-level programs – you can find GarageBand or Audacity. Why? Pro Tools presents a steep learning curve that can initially overwhelm new users. The software's depth and breadth in terms of editing, mixing, and mastering are vast, and mastering these features takes time and practice.
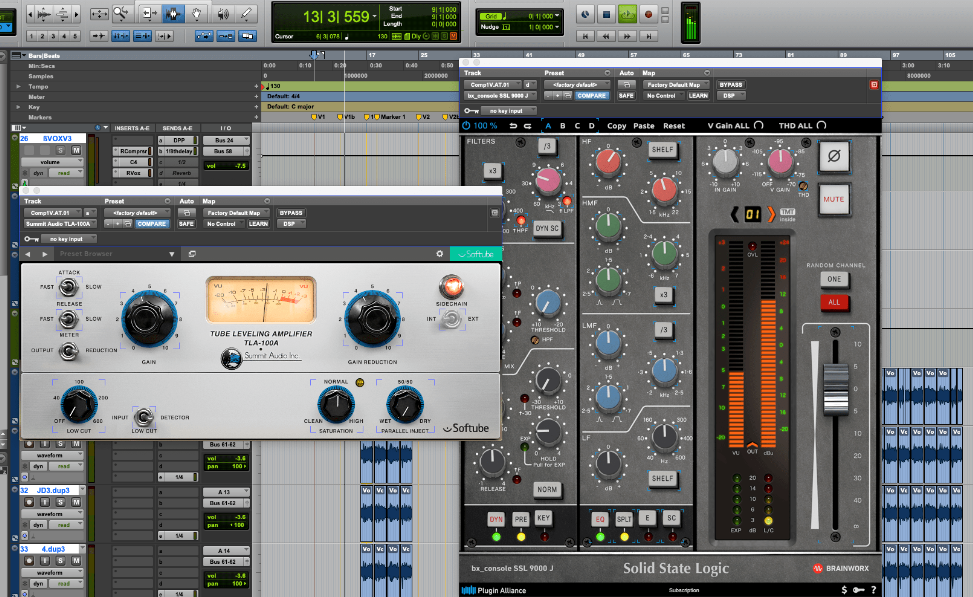
Interface and Workflow
The user interface in Pro Tools is professional and loaded with industry-standard tools and processes.
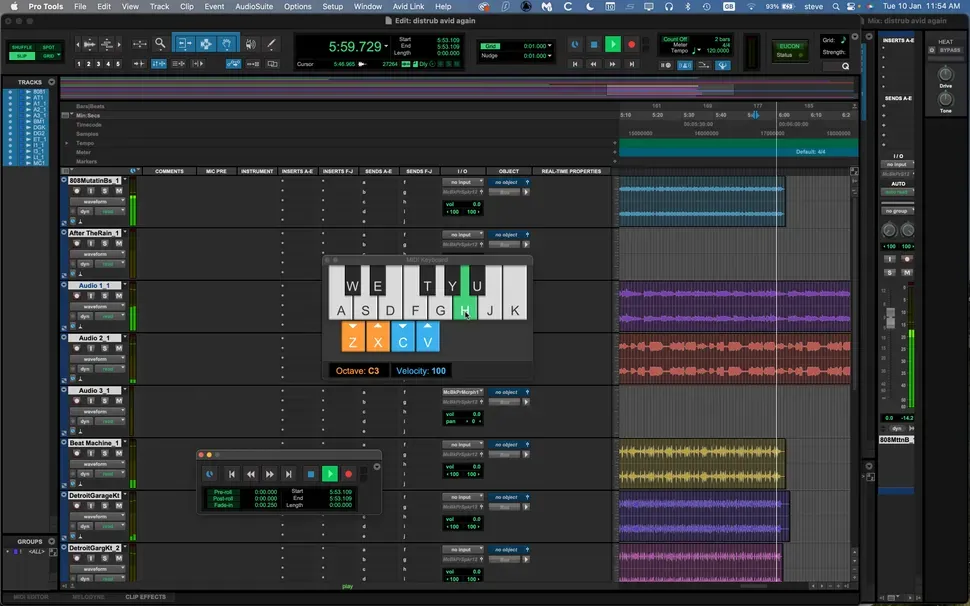
For someone with no experience in audio production, it might take some time to become familiar with the various menus, tools, and settings. However, for those who are serious about making a career out of audio production, learning Pro Tools is an investment that pays off, as the workflow in Pro Tools can greatly enhance productivity once mastered.
Educational Resources and Community Support
One of the significant advantages for beginners is the educational resources available for learning Pro Tools.
Avid offers a range of tutorials, online courses, and a detailed manual that can help ease the learning process. Additionally, the community of Pro Tools users is extensive and often quite willing to help newcomers. Forums, YouTube tutorials, and online groups can provide support and advice.
Cost Considerations
Pro Tools is not only a commitment in terms of time and energy to learn but also in financial investment.
It is more expensive than many beginner-friendly applications, and it operates on a subscription-based model, which might not be ideal for everyone.
Beginners need to consider if they’re ready to commit to the cost in return for professional-grade features.
Trial and Compatibility
For those unsure about diving in, Pro Tools offers a free trial version called Pro Tools | First.
This version is an excellent way for beginners to get their feet wet without the financial commitment. It has many of the core features of Pro Tools, with some limitations in track count and plug-in availability.
It’s also worth noting to ensure your hardware can handle the software demand from Pro Tools.
Sampling with Pro Tools for Beginners
Here's how beginners can start using Pro Tools with samples and how to select, edit, and manipulate samples effectively.
Choosing Your Samples
Selecting Audio: Begin by choosing a sample source. For instance, if you're sampling a drum break from a classic funk track, ensure you have the audio file in a compatible format (like WAV or MP3).
Importing Audio: To import this file into Pro Tools, navigate to File > Import > Audio. Browse your computer, select your audio file, and click Open. Drag the imported file from the clips list to a track on your session.

Editing Samples
- Trimming Audio: Use the
Trim Toolto adjust the start and end points of your sample. Select the Trim Tool from the toolbar, or pressF6for quick access. Click and drag the edges of the audio region in the timeline to the desired length. - Finding Zero-Crossings: To avoid pops or clicks, make sure your cuts are at zero-crossings (points where the audio waveform crosses the zero line). Zoom in closely on the waveform by pressing
Ctrl + [+]and adjust your selection accordingly.
Manipulating Samples
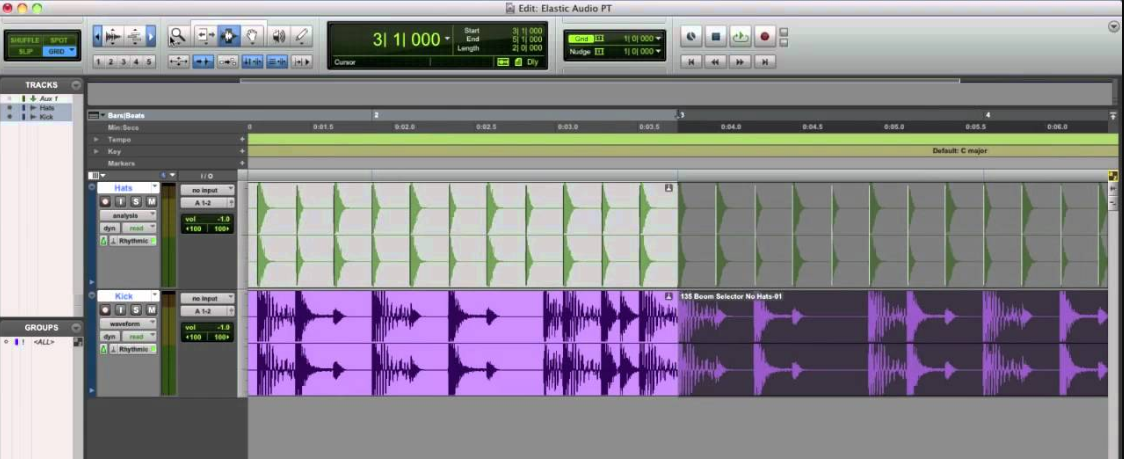
- Using Elastic Audio: To change the pitch or tempo without altering the length, enable Elastic Audio. Right-click on the track name, select
Elastic Audio, and choose a mode likePolyphonic. Now you can adjust the pitch by selecting theEvent > Event Operations > Transposeor change the tempo by dragging the edges of the audio clip while pressingCtrl(to maintain pitch). - Setting Parameters: When changing tempo, a dialog box will appear where you can enter the new tempo or percentage change. For pitch adjustments, you can specify the number of semitones or cents.
Techniques To Make Your Samples Sound Better
Layering Samples
- Creating Layers: Drag multiple samples onto separate tracks that you want to layer. Use the
Grid Modeto snap them in line with each other for better synchronization. - Mix Adjustments: Balance the layers by adjusting their individual track volumes and panning. Open the
Mix Windowby pressingCtrl + =, then adjust sliders and pan knobs to blend the samples.
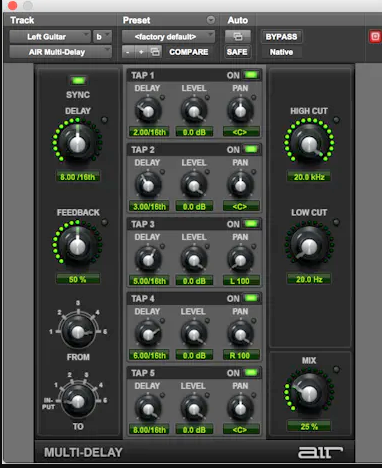
Adding Effects
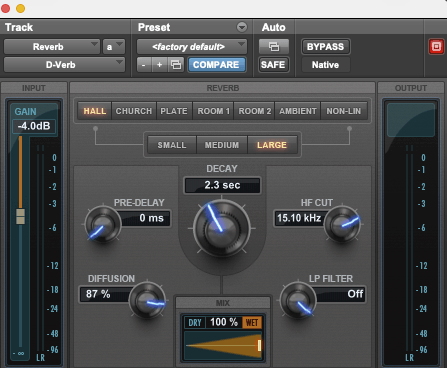
- Applying Effects: To add an effect, insert a plugin onto the track. Click on an empty slot in the
Insertssection of the mix channel and choose an effect, likeD-Verbfor reverb. Adjust the effect parameters in the plugin window that opens.
Integrating Samples into Your Tracks
Creating Loops
- Looping Samples: To loop a clip, select the clip in the timeline, then right-click and choose
Loop. Adjust the loop length by dragging the loop bracket that appears at the end of the clip.
Sampling and MIDI
- Converting Audio to MIDI: Use the
Convert to MIDIfeature by right-clicking the audio clip and selectingConvert to MIDI Track. This feature works best with rhythmic or monophonic material.
Automation for Dynamics
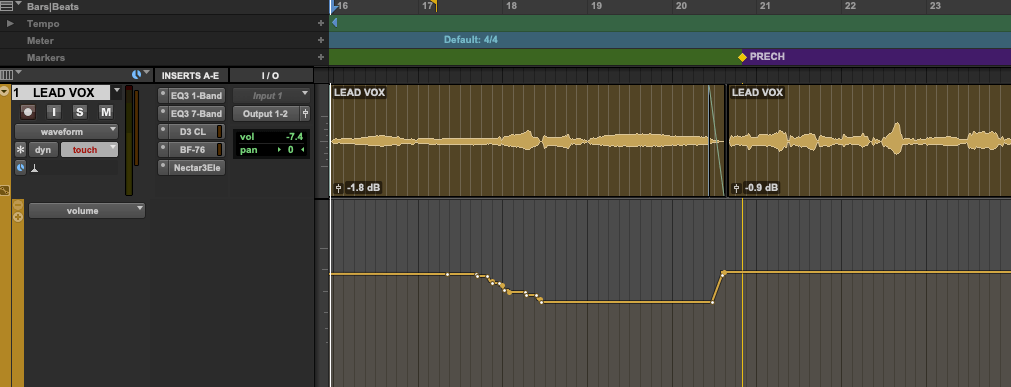
Adding Automation: To automate a parameter, like volume, switch the track view to Volume Automation by clicking on the drop-down menu at the left end of the track. Add automation points directly on the track by clicking the line and dragging the points to shape the automation curve.
Adding Effects: Pro Tools comes equipped with a suite of effects that can enhance your samples. Reverb, delay, distortion, and EQ are just a few of the effects you can apply to transform the character of your samples.
Quick automation in Pro Tools:
- Load the plug-in on the relevant channel
- Press the Automation Enable button
- Select the parameters to automate
- Select the parameter in the Automation menu
- Set the automation mode
- Automate
To enable plugin parameters for automation, use keyboard shortcuts on Mac or Windows. Hold shortcut and click on button, knob, or fader.
Using Plug-ins
- Third-Party Plug-ins: If you have third-party plug-ins installed, you can add them similarly by clicking on the
Insertsslot and navigating to the plugin you want to use. For example, a spectral delay might offer unique sound manipulation features not available in standard Pro Tools effects.
Recap
- Industry Standard: Pro Tools is widely used in professional environments for its advanced audio editing and production capabilities.
- Steep Learning Curve: New users may find Pro Tools complex, but it offers comprehensive features for deep editing, mixing, and mastering.
- Educational Resources: Avid provides extensive tutorials and a supportive community to help beginners navigate Pro Tools effectively.
- Cost and Investment: Pro Tools is a financial and time investment, operating on a subscription model, making it suitable for serious audio production students.
- Sampling with Pro Tools: Beginners can effectively learn sampling in Pro Tools by selecting appropriate samples, using editing tools for precision, and employing techniques like Elastic Audio for pitch and tempo adjustments.
You Should Buy If:
- If you're serious about pursuing a career in audio production or need professional-grade tools for complex projects
- Pro Tools offers the advanced features and industry-standard capabilities necessary for high-quality production.
Don't Buy If:
- If you are a hobbyist or beginner looking for a simple, budget-friendly audio editing tool.
- Pro Tools may not be the best choice due to its steep learning curve and higher cost.
Final Thoughts
Pro Tools can be challenging for beginners, but it is a useful tool.
If you want to make a career in music production, sound design, or audio for film and television, Pro Tools is worth learning. The initial effort to overcome the steep learning curve can be mitigated with learning resources and community support.
While Pro Tools might not be the easiest entry point into audio production for beginners, its industry-standard status and comprehensive capabilities make it a worthwhile endeavor for those committed to mastering the craft.

Comments