
In our latest video on the Sample Focus YouTube channel, we explored how adding loops to an organic drum kit can enhance your track's feel and presence. This blog will break down the key techniques to make your drums sound well polished – even if you're just getting started.
You Will Learn
- How to set up a foundational drum kit in EZDrummer with precise frequency targeting.
- Techniques for selecting and integrating complementary drum loops from Sample Focus.
- Methods for tempo-matching and grid-alignment of loops in your DAW.
- Essential processing techniques using compression and analog emulation.
- Pro mixing strategies for balancing loops with your main drum kit
Step 1: Program Your Base Drum Kit in Ableton
In EZDrummer, set up a strong stadium rock foundation with a heavy kick, snappy snare, and open hi-hats:
- Kick: Place on downbeats for power, targeting 60-80Hz.
- Snare: Hit on beats 2 and 4, emphasizing 1-2kHz for punch.
- Hi-Hats: Program on off-beats with varied velocity for groove.
This solid base provides structure, ready for layering with loops to add depth and subtle complexity.

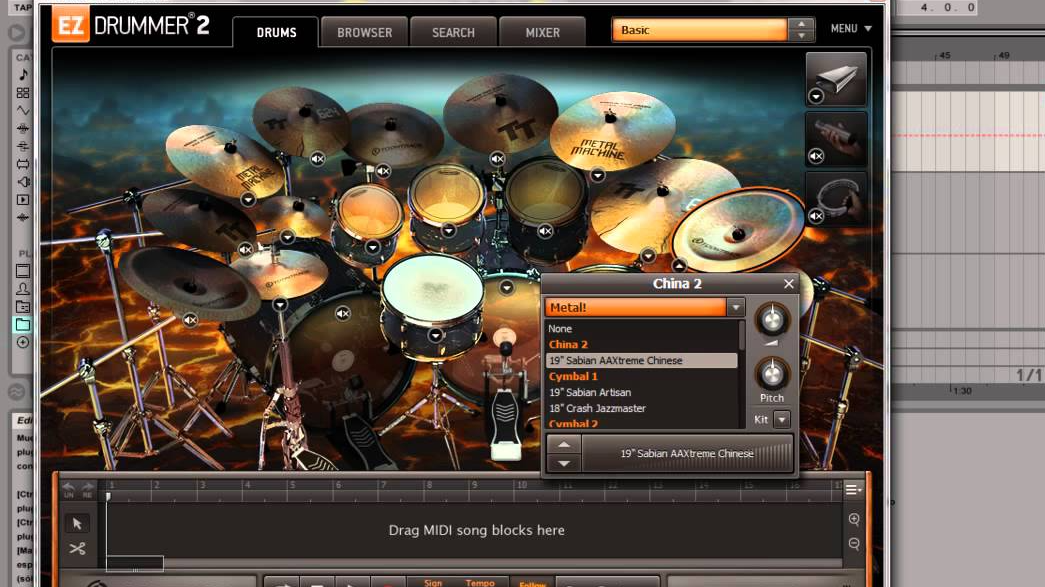
Step 2: Select a Loop on Sample Focus
Head over to Sample Focus and search for loops that complement the style of your drum kit. Look for phrases like “rock loop,” “ambient drum loop,” or specific groove types, depending on what fits your track. Once you've found a loop with a groove you like, drag it into your DAW session.

Step 3: Match the Loop’s Tempo
To integrate the loop seamlessly, adjust its tempo to match your track. Most DAWs make this straightforward:
- Drag and stretch the loop to align with the project’s tempo, making sure it locks into the rhythm of your programmed kit.
- Sync it to the grid for precise timing, ensuring the loop reinforces the kit without clashing.

Step 4: Basic Processing for Depth and Character
Now that the loop sits rhythmically, use basic processing to blend it into your mix. Here’s how to add presence and depth with minimal tools:
- Compression: Apply mild compression to control dynamics and bring out the loop’s texture.
- Analog Emulation (RC20): To achieve a vintage, analog feel, add a plugin like RC20 or a tape emulator. This can introduce subtle distortion, wobble, and warmth, making the loop sound richer and more integrated.
- Width Control: Adjust the stereo width slightly to give the loop a more spacious, open feel, which enhances the drum kit’s energy.

Step 5: Listen in Context, Not in Isolation
Layering a loop with the drum kit you add movement to the track. The result? A drum mix with enhanced depth, filling the space without overpowering the programmed kit.
Ableton Drum Mix Check
In Ableton, using your drum mix as a unit rather than individual tracks is how you get a dynamic sound.
- Solo and Mute for Context: Toggle between soloing and muting the loop and drum kit tracks to hear how each contributes to the mix.
- Group Tracks for Unified Processing:
- Select your drum kit and loop tracks, right-click, and Group (Cmd/Ctrl + G).
- Use Glue Compressor with low gain reduction (1-2 dB) to tie them together
- EQ Eight to balance frequencies—boosting low-end (60-100Hz) and mid-highs (2-4kHz) for punch and clarity.
- Phase Check: Use Utility on the group to invert phase on the Left or Right channels. If this strengthens the low end, leave it engaged.
- Width and Cohesion:
- In Utility, set Width to around 110% to give the loop a slightly wider image than the centered drum kit.
- Apply subtle Reverb (Dry/Wet ~10%) to blend the layers, and a short Delay for rhythmic cohesion.
- Final Listening: Play the track in full, ensuring the drum mix feels balanced, adds depth, and integrates well with the rest of your arrangement.
You're All Set
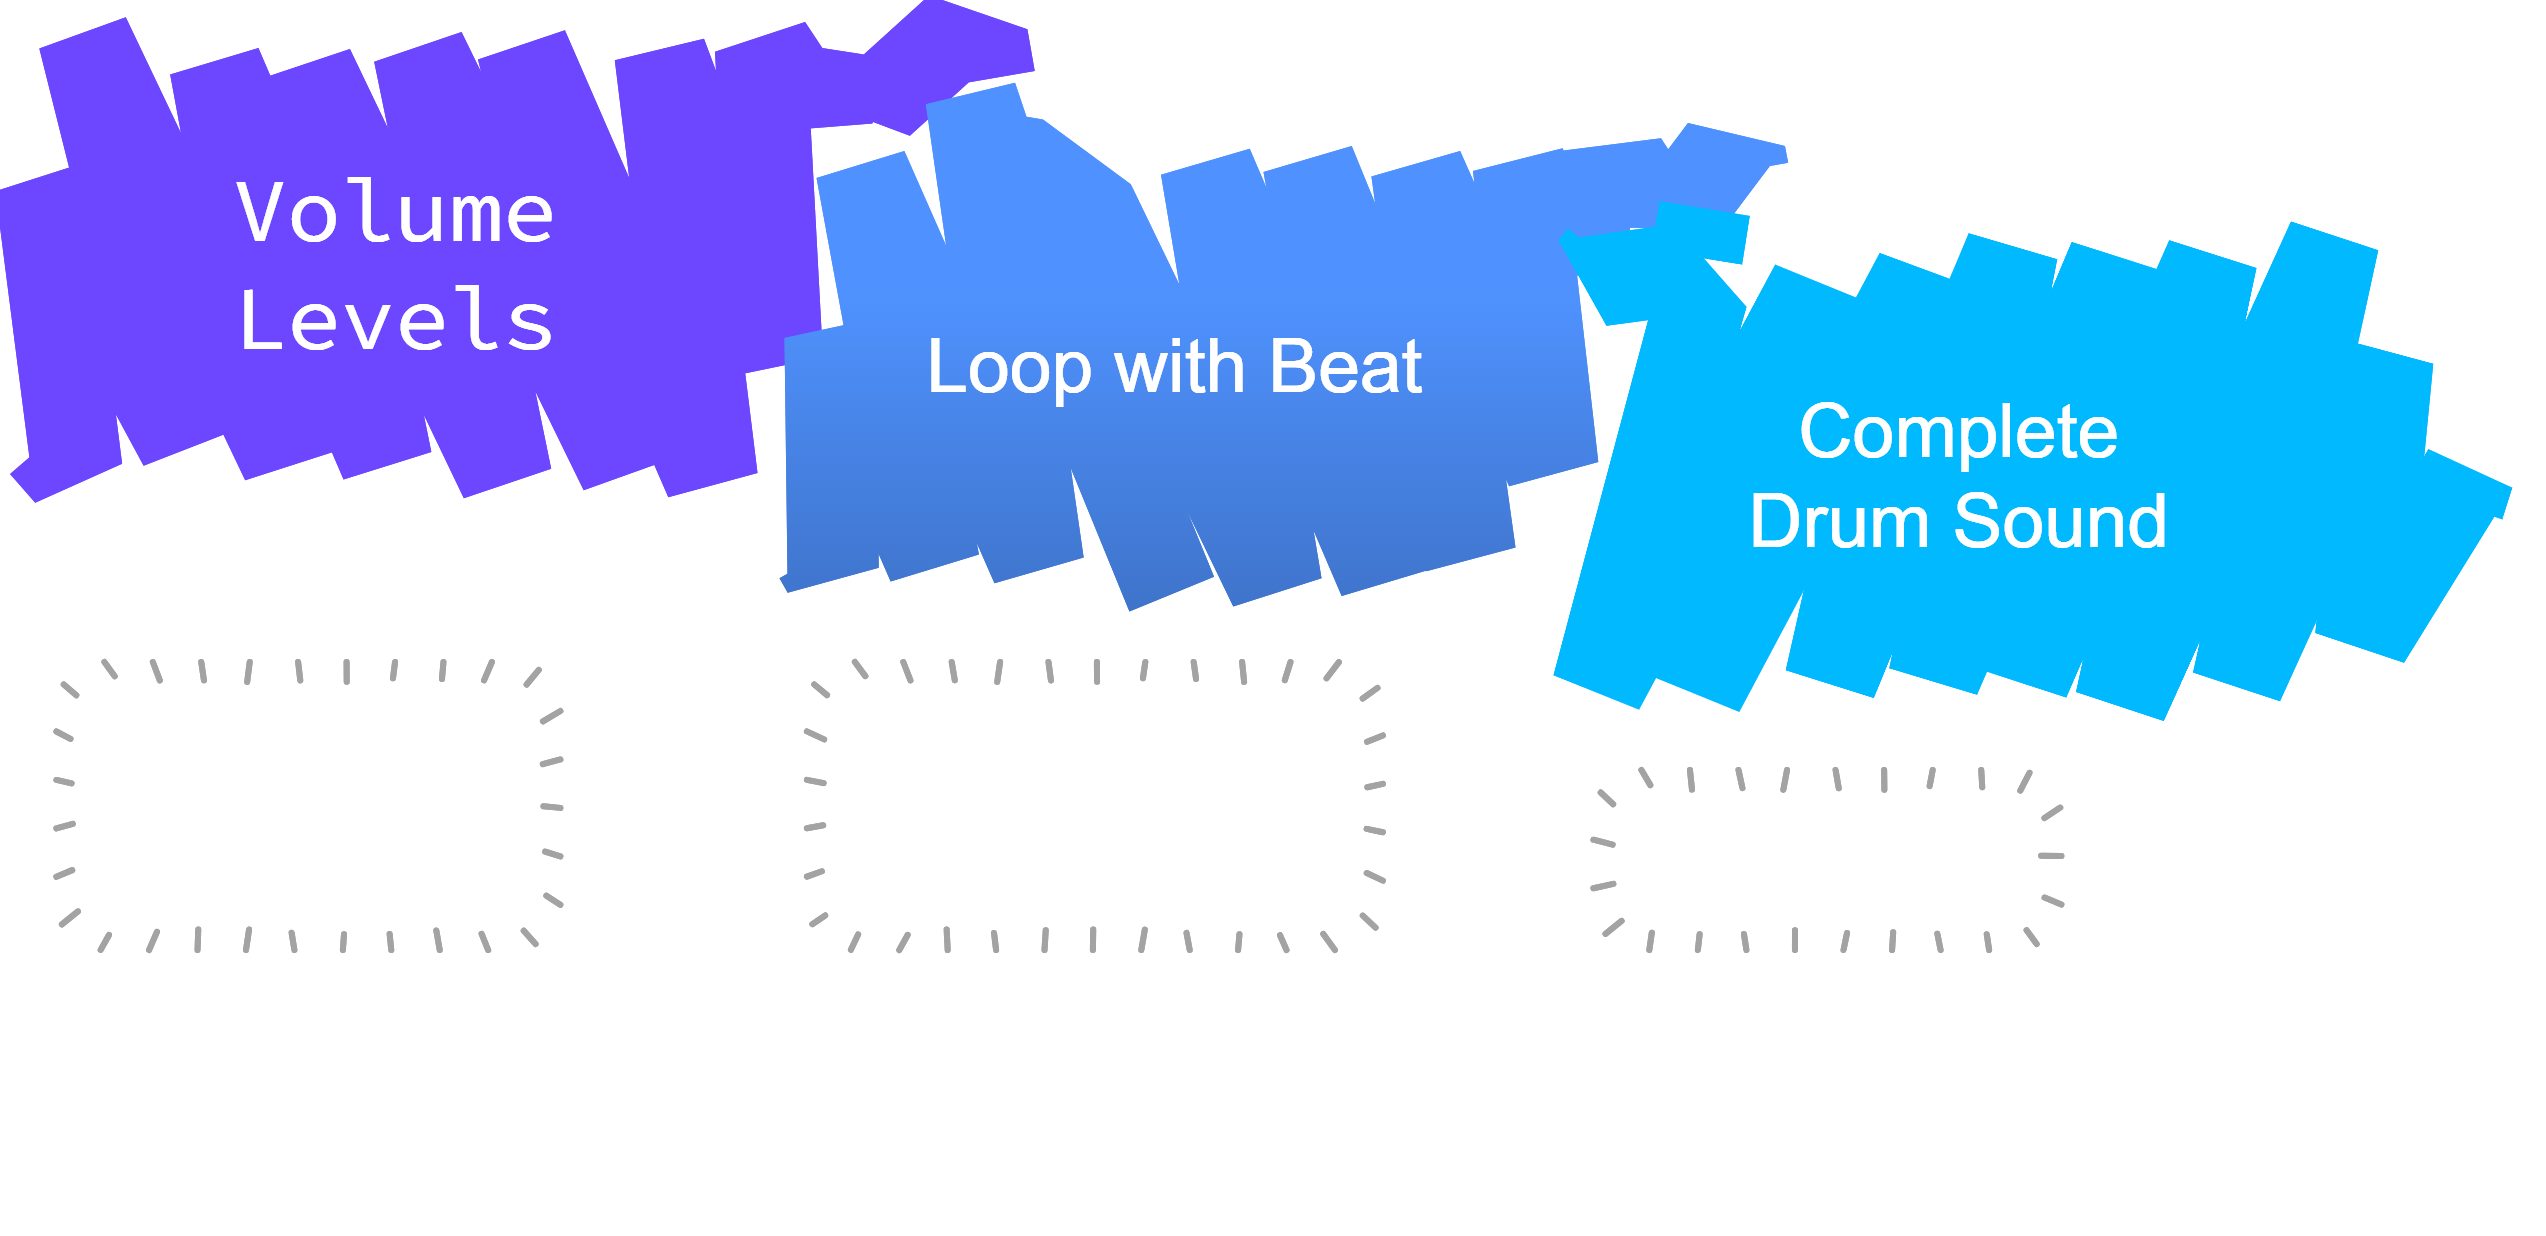
To wrap up, adjust the volume levels so the loop and main drum set are balanced. Ensure the loop blends in without overshadowing the main beat. This helps you get a complete drum sound and boosts your entire track.
FULL VIDEO on YouTube
Recap
- Program your base drums first (kick at 60-80Hz, snare at 1-2kHz)
- Match loop tempo and sync to grid for seamless integration
- Apply minimal processing (compression, RC20, width control) for depth
- Group tracks and use Glue Compressor (1-2dB reduction) for cohesion
- Set final width to 110% and add subtle reverb (10% wet) for space
Final Words
Play the entire track with all elements active, and see how the drum kit with the layered loop interacts with the rest of your mix. Listen for depth, punch, and balance. This gives your loop and drum kit a rhythm that fills out the track naturally. Don't overpower, so you can create a polished, dynamic drum mix fits your track right.


Comments